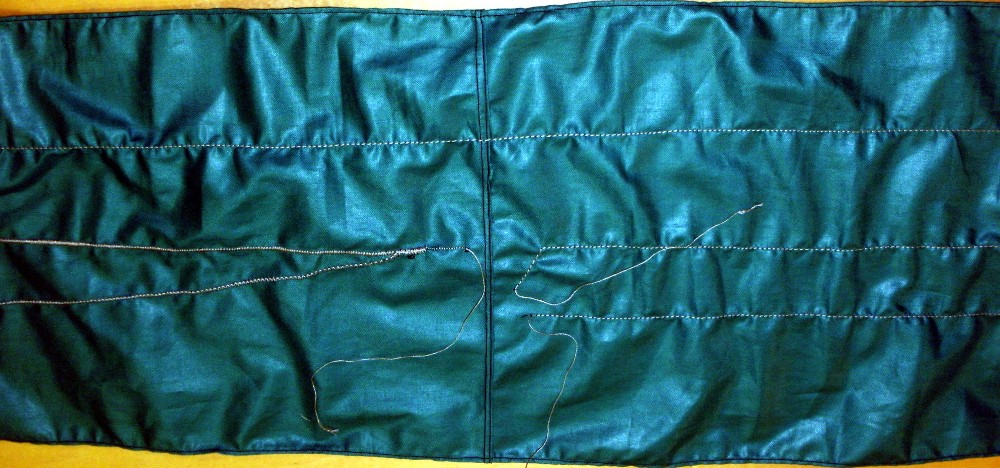
Sewing the Ground Path
The ground line is the simplest part of the circuit. It just needs to connect the ground of the jack socket to the ground of the jack plug. We want the resistance to be as low as possible, so we will sew more than one line conductive thread. More thread means more room for electricity to flow.
- If you are using a sewing machine, fill a bobbin with conductive thread and then thread the machine.
- Leaving a 6 inch tail of thread, sew along the ground line and leave a 6 inch tail at the end before cutting the thread.
- Repeat again, leaving a 6 inch tail and sewing alongside the thread you just sewed leaving another long tail.
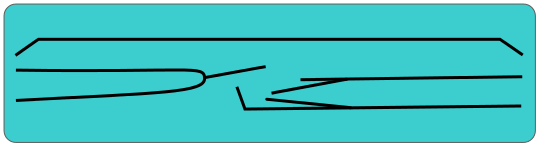
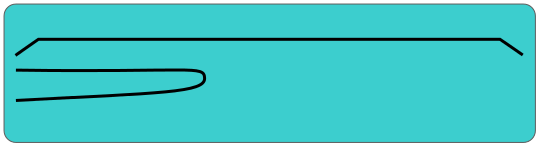
Sewing the Stereo-To-Mono Circuit
A stereo to mono mixing circuit is simply the connecting of the left and right channels of audio from the music player so that the signals are combined. Audio mixing circuits can get much more elaborate than what we are doing here. The important thing for your scarf is that the resistance from the socket to the end of the mixing circuit is the same for the left and right channels.
- Leaving a 6 inch tail, sew along the mixer circuit using a zigzag stitch. Leave a 6 inch tail at the end.
- Using a straight stitch, sew from the end of the mixer loop you just sewed to the top of the panning circuit, leaving a 6 inch tail. Use the multimeter to make sure you have a good electrical connection where the straight stitch overlaps the zigzag stitch.
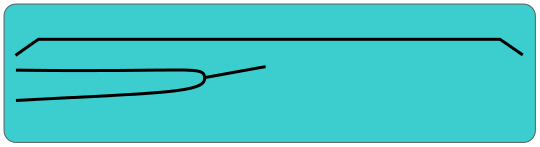
- You are aiming for a resistance from the socket to the end of the mixer of 100 to 200 Ohms. You want the left and right to be within 10 Ohms of each other.
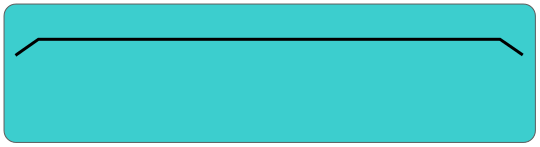
Sewing the Panning Circuit
- Leaving a 6 inch tail, sew along each line of the panning circuit using a straight stitch. Leave a 6 inch tail at the end.