 Looking for a wearables project that doesn’t involve an LED or even a battery? Or perhaps you’d just like to combine listening to your music with keeping your neck warm?
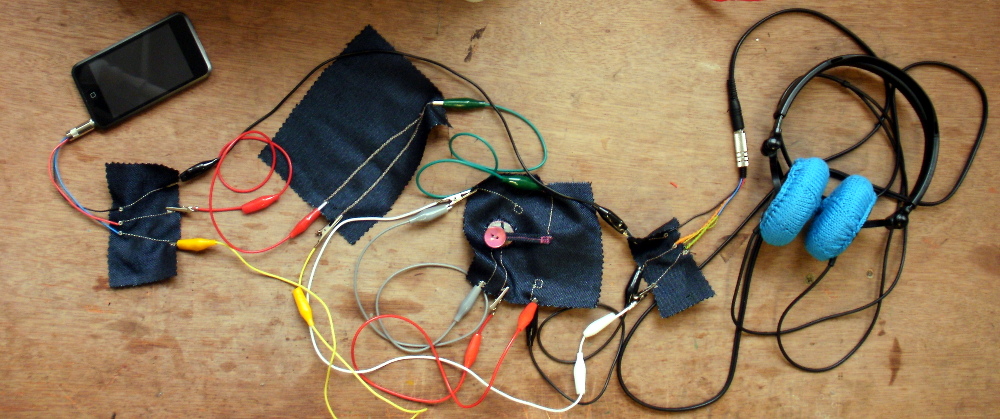
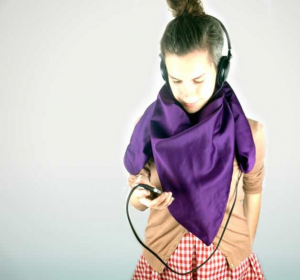
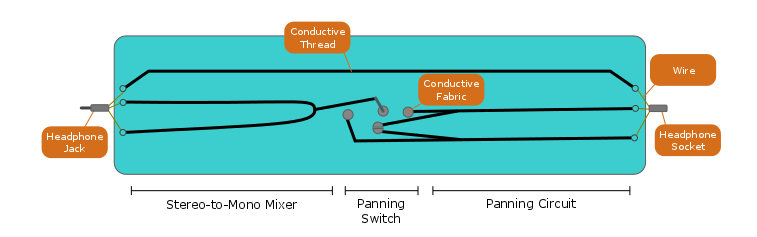
In this tutorial, you will sew a Solo Disco Scarf. Your phone or music player gets plugged into one end of the scarf and your headphones into the other. In the middle you have a sensor made from conductive thread and fabric that either pans your music to play out only the left ear, only the right ear, or out both at the same time.
This project is great for someone who is more comfortable with sewing than circuits as it doesn’t use a lot of components, but does give you a chance to start
What You Need
If you are in the US, you can find the most of the materials from suppliers like Adafruit or Sparkfun. If you are in the UK/EU, you might want to find a more local distributor. We have a list of UK suppliers/distributors that we hope is of use.
Materials
- Scarf or fabric to make a scarf
- Scrap fabric or ribbon
- Non-conductive (normal) thread or embroidery floss
- Conductive thread
- Conductive fabric
- Wire
- Solder
- 1 x 3.5mm (1/8th inch) stereo mini-jack
- 1 x 3.5mm (1/8th inch) stereo socket
- 4 x small magnets
Tools
- Tailors chalk, temporary fabric pen or other washable marker
- Scissors
- Pliers
- Wire cutters
- Soldering iron
- Wire strippers
- Multimeter
- Sewing machine (optional)
Steps
This tutorial is broken into 4 parts: